Hi everyone, welcome to today’s tutorial on how to make fabric flowers to match a dress or use as decoration. If you’re a bridesmaid or a bride looking for a creative way to incorporate matching flowers into your wedding, this tutorial is for you. Fabric flowers are a great option because they’re inexpensive, easy to make, and can be customised to match any dress color or style. Let’s get started!
Materials:
- Fabric (in the color and texture of your choice)
- Scissors
- Needle and thread
- Backing fabric (for attaching flowers in a corsage)
- Coordinating trims or lace scraps, if used on dress
I like my flowers to look as natural as possible, so I usually cut them different, random sizes, and this makes the perfect way to use what would normally be wasted. Bridal party dresses often have large pattern pieces that leave lots of wastage, so bear this in mind when planning. I will include some downloadable template patterns, for guidance.
For simple fill in flowers, small circles grouped together make nice blooms that can be used to add texture to the arrangement.

Step 1: To make a fabric flower, you’ll need to start by cutting out circles of fabric in varying sizes. You can use a template or trace around a circular object to create your circles. Cut out at least 5-7 circles of each size, depending on how large you want your flower to be.
Step 2: Shape the petals next, take each fabric circle and fold it in half, then in half again. You should now have a quarter-circle shape. Use your scissors to round off the top edge of the quarter-circle, creating a petal shape. Repeat this process for all of your fabric circles. The raw edges may fray slightly, but this can give a nice effect. If this looks too scruffy, or the flower will be subject to heavy wear, you can use a lighter to singe the edges to seal on synthetic fabrics.
Step 3: Assemble the flower by sewing the folded corners together with a few small stitches, then add petals until the bloom forms a nice “half pompom” shape.

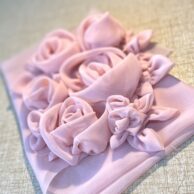
The stars of any Fabric Flower arrangements are usually roses
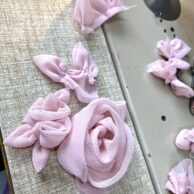
Step 4: Make some rolled roses. Cut pieces of fabric into strips between 5-10cm wide to your desired length (depending on large your scraps are!) and fold them in half. Each end of the folded shape should be tapered, this forms the central bud, and the outside petal. Thread your needle and knot the end of your thread. Insert the needle along the cut edges and form a running stitch. Pull the thread gently, to draw the flower up slightly and your flower should start to roll around it’s centre. You can use a single strip to form a bud on it’s own, or add further strips to form petals (make each strip slightly wider as you go, to mimic the “growing” petals. When you’re happy with the shape, turn the rose over and catch the layers together with needle and thread.
Step 5: Make some leaves. Cut rough shapes of fabric between 7-15cm square, making sure to position the grain at 45°, this is necessary because you need to fold the square diagonally twice. Again, sew a running stitch along the raw edges to pull the leaf into a more rounded shape.
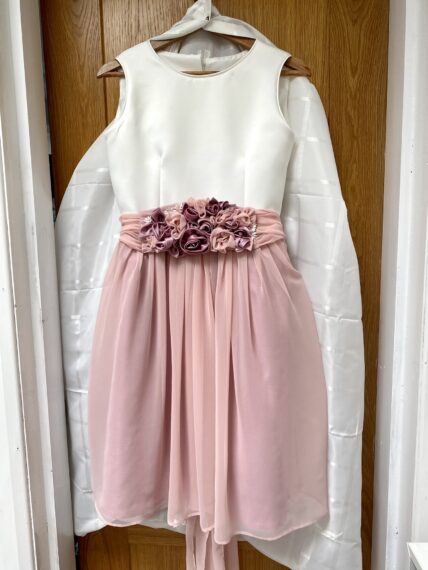
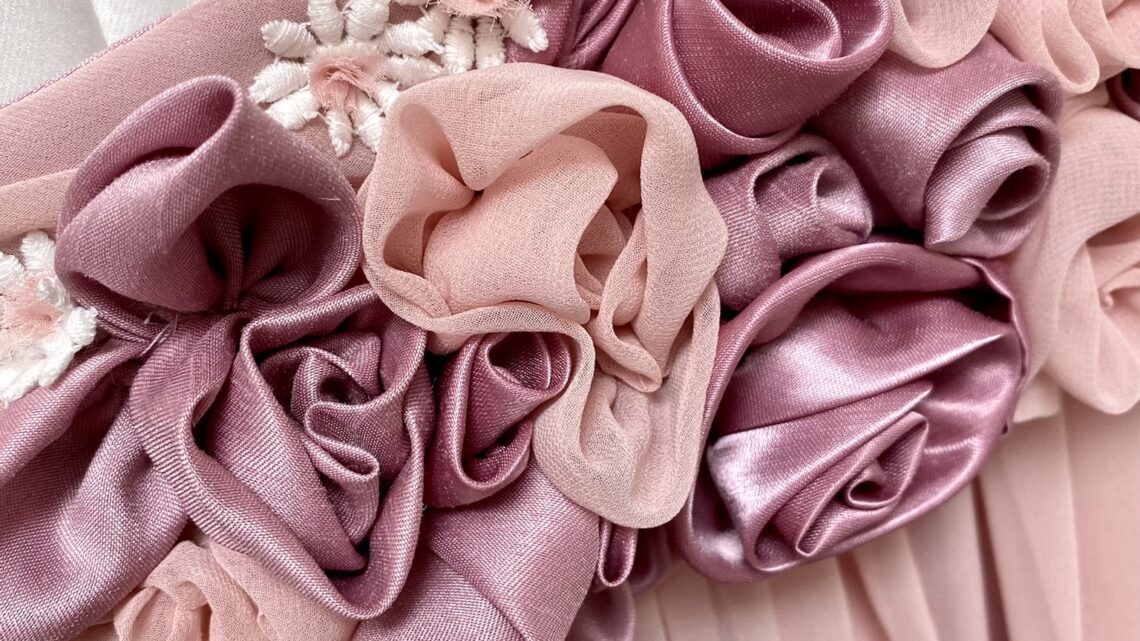
Used singly for a statement, or grouped with other toning shapes and fabrics, these flowers will add a lovely bespoke touch to any garment. The pink flowers featured were put on a belt for the tiniest flower girl in the bridal party. This piece used all the fabrics used in the senior bridesmaids’ dresses, and the groomsmen’s ties it even featured lace daisies taken from the Bride’s Grandmother’s 70s Wedding Veil, which was upcycled for the occasion!
And there you have it, beautiful fabric flowers that perfectly match your dress or celebration theme. You can make as many of these flowers as you need to create a stunning bouquet or even use them as decorations for your wedding.
I will record two videos to accompany this blog, one will show hand sewing flowers, the other will demonstrate a speedy machine sewn version. Thank you for reading and watching and happy sewing!

